
If you’re setting up your development environment for writing provider-hosted SharePoint add-ins, you need a register the SharePoint IIS certificate with the remote web used by the add-in(s). A quick and easy way to do this is to register a self-signed certificate and turn off the requirement for SSL over OAuth. This saves you having to create and register a SSL certificate, which isn’t really needed for SharePoint development.
Configuring your environment for developing provider-hosted add-ins, follow this post here.
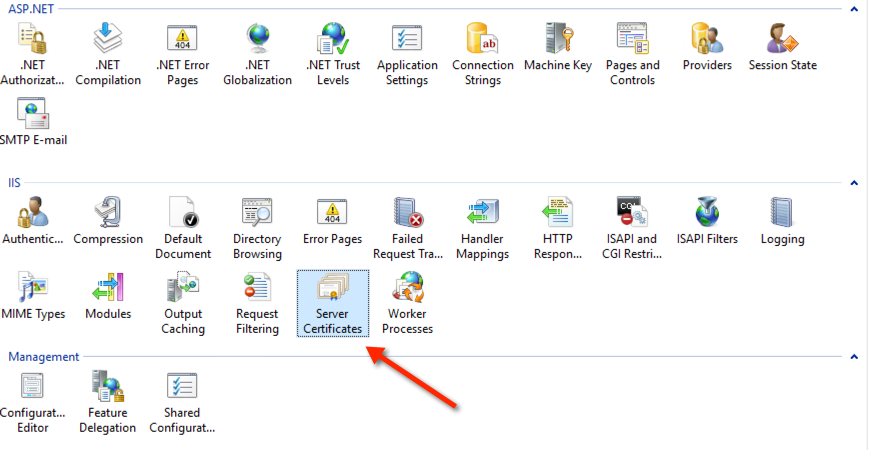
The first thing you need to do is create the self-signed certificate. Do this be opening IIS Manager and then click on the server name in the Connections pane. From there, in the main pane, under IIS, double click Server Certificates.
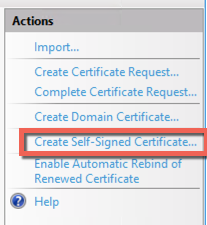
From here, click Create Self-Signed Certificate from the Actions pane.
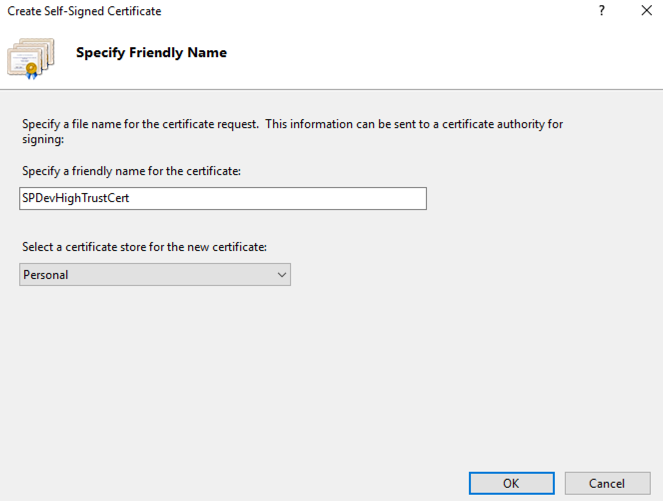
From the dialog that appears, give the certificate a name, keep the store set to Personal and click OK.
Create PFX
Now to create the Personal Information Exchange certificate. Once back to the IIS window and with the certificate you created selected, click Export in the Actions pane. This will be used by the add-in’s remote web site.
Specify a location and name for the pfx file and a password for it.
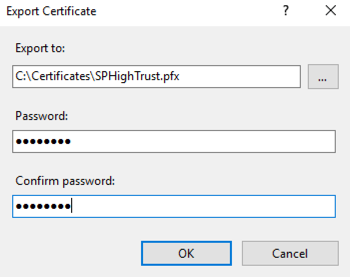
A pfx certificate contains both the public and private key for the associated certificate in IIS.
Create CER
We now need to save a copy of the public key certficiate – the .cer file. Still in IIS , double-click the certificate you created previously. This will open the Certificate details dialog. Change to the Details tab and then click the Copy to File button.
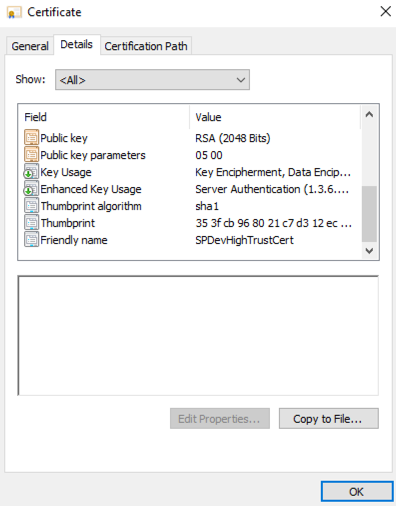
Clicking this will open an export wizard dialog.
- Click Next
- Keep ‘No, do not export the private key’ and click Next
- Keep ‘DER encoded binary X.509’ selected and click Next
- Lastly, save the file in the same location as the pfx certificate
A cer certificate only contains the public key and will be the one we register with SharePoint.
Register Certificate with SharePoint
Now that we have the pfx and cer certificates saved locally on the development server, it’s time to register it with SharePoint. The following script is how we do this:
asnp Microsoft.SharePoint.PowerShell

$cert = New-Object ystem.Security.Cryptography.X509Certificates.X509Certificate2("full name and path of the .cer certificate")
New-SPTrustedRootAuthority -Name "SPHighTrust" -Certificate $cert
$realm = Get-SPAuthenticationRealm
$issuerId = "1111111-1111-1111-1111-111111111111"
$fullIssuerId = $issuerId + "@" + $realm

New-SPTrustedSecurityTokenIssuer -Name "SP High Trust Cert" -Certificate $cert -RegisteredIssuerName -$fullIssuerId -IsTrustBroker

iisreset
The New-SPTrustedRootAuthority cmdlet is used to register the certificate with SharePoint. After running this, you should see the certificate listed in the Security -> Manage Trust page in Central Administration.
The value for $issuerId can be whatever you choose but must be a Guid and all lower-case.
After this, we use the New-SPTrustedSecurityTokenIssuer cmdlet to create the trust between the server and server principal ($fullIssuerId).
It’s important to specify the -IsTrustBroker here as this allows the same certificate to be used by multiple add-ins. Failing to specify this switch may mean you’ll need to provide separate certificates for every add-in.
The IIS reset it there to ensure the certificate changes are applied.
Lastly, we need to tell SharePoint to allow OAuth over http protocol, otherwise the add-in will not work without a SSL certificate. Do this with the following script:
$tokenConfig = Get-SPSecurityTokenServiceConfig
$tokenConfig.AllowOAuthOverHttp = $true
$tokenConfig.Update()
With this all in place, you can now start to develop and deploy your own add-ins. I’ll be writing about this in an upcoming post and provide a link to it from here when ready.
Validation
To validate the certificates have been set, run the following and verify the output matches the names you provided.
# List all registered certificates
Get-SPTrustedRootAuthority |% { $_.Name }

# List all registered token issuers
Get-SPTrustedSecurityTokenIssuer |% { $_.Name }